Install (MSI and Source)
Android Option: Android APK Installer and Google Store Beta
You can go to the Google Play Store to download it onto your Android Device.
You can also download the latest app from the github releases page and run it.
Windows Option: Windows MSI installer (Easiest Setup But Still WIP and may have some bugs)
1. Download installer
Get the latest .msi from the GitHub Releases page:
https://github.com/Masterjx9/OpenPostings/releases
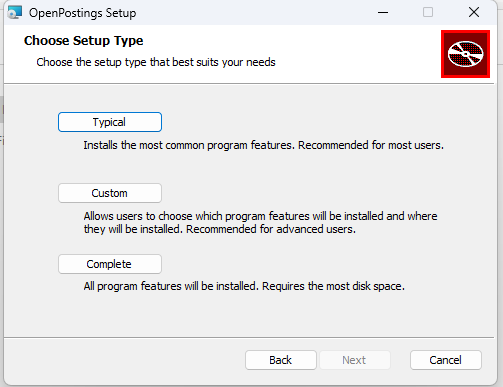
2. Run the installer
Launch the MSI and follow the setup wizard.
During setup, choose one of these install types:
Typical: Desktop app + backend service worker (recommended for most users).Complete: Desktop app + backend service worker + MCP Apply Agent Server (AI Service Engine).Custom: Pick exactly which features to install.
3. Finish and launch
After install, launch OpenPostings from Start Menu or desktop shortcut.
4. What gets installed
Default install location:
C:\Program Files\OpenPostings
Feature payloads:
- Desktop app executable:
openpostings.exe - Backend service worker files:
backend\... - Optional MCP AI engine files:
mcp\...(if Complete/Custom includes MCP)
5. Startup behavior
If backend service worker is installed, the installer writes a startup entry that launches the backend tray process on sign-in.
MacOS Direct Install (There will never be a playstore version as Apple's Garden wall requires 100 soul bucks every year just for a free app, this its outside of scope of an opensource application)
You can download the lastest app from the github releases page and run it.
Source Option: Run from source (Best Stability & Compatibility)
Requirements
- Node.js
18+and npm - Windows target support: React Native Windows prerequisites
- Optional Android support: Android Studio/emulator/device
Install dependencies
From the repository root (OpenPostings):
npm install
Run backend API
npm run server
Run web app
In a second terminal:
npm run web
Open:
http://localhost:8081
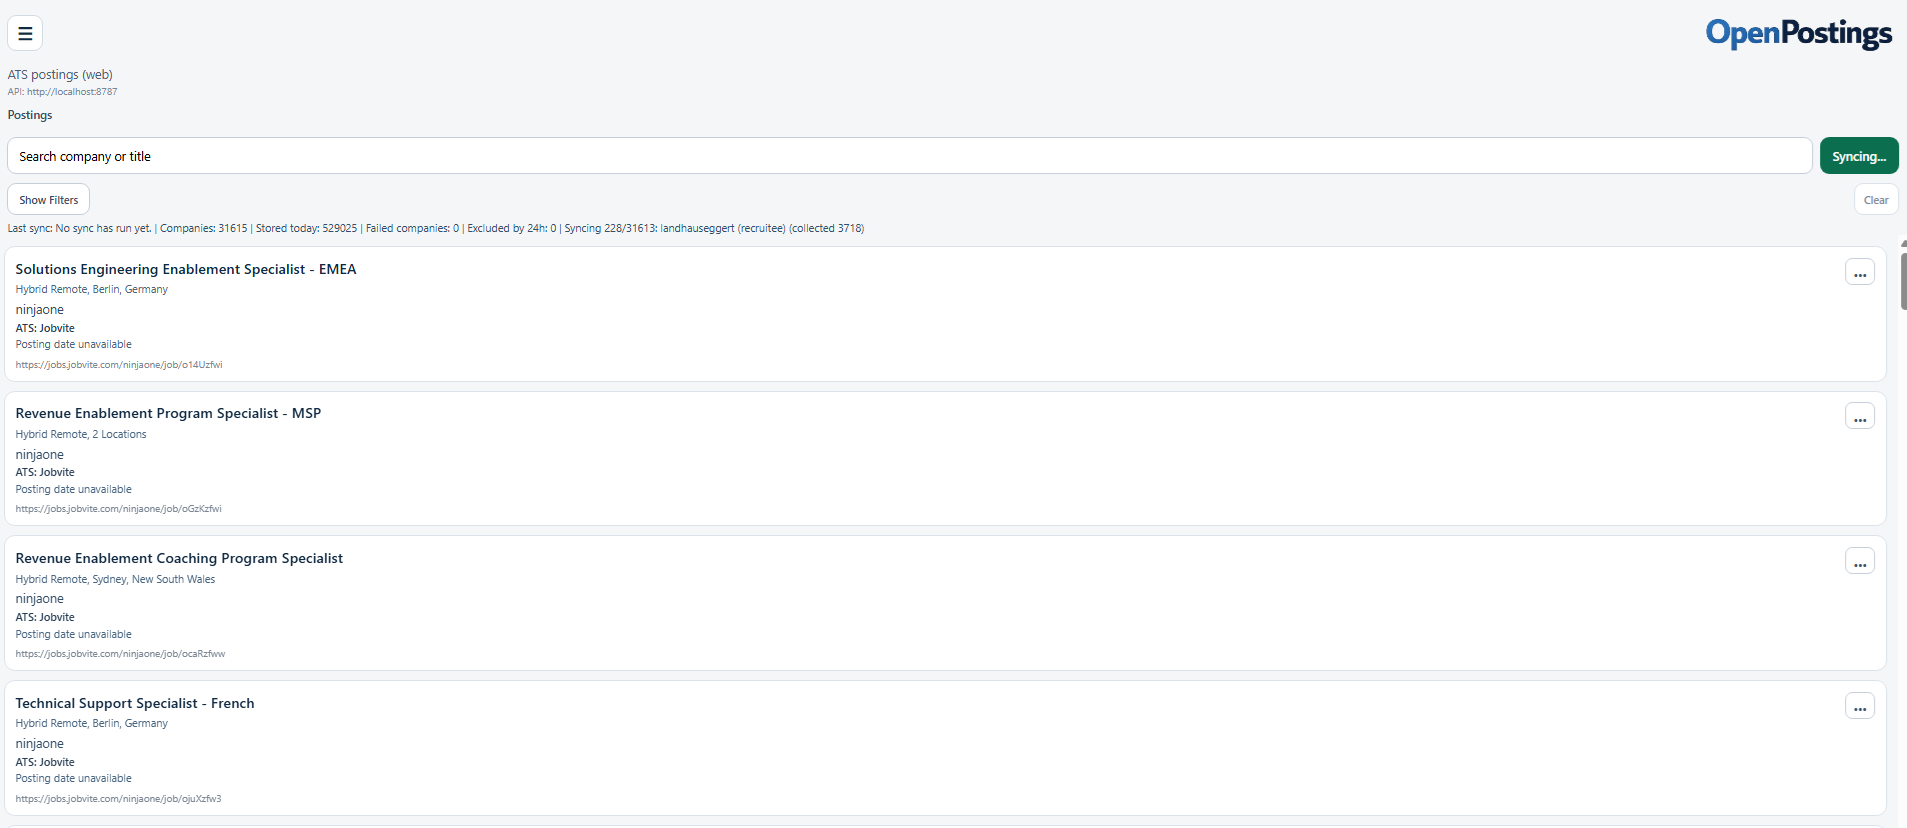
API defaults:
- Web/Windows:
http://localhost:8787 - Android (on-device backend):
http://127.0.0.1:8787
Run Windows or Android client
npm run windows
npm run android
Run MCP apply-agent server (optional)
npm run mcp:apply-agent
Verify the install
After launch, confirm backend health:
http://localhost:8787/health
You should receive a JSON response with ok: true.